Keeping your sneakers fresh and clean is essential for any sneakerhead. Not only does it maintain their aesthetic appeal, but it also prolongs their life, protecting the investment you’ve made in your footwear collection. Regular cleaning prevents materials from degrading, ensuring your most prized pairs remain wearable for years to come. This detailed guide will walk you through a simple yet effective step-by-step process to keep your kicks looking brand new, turning a chore into a satisfying part of sneaker ownership.
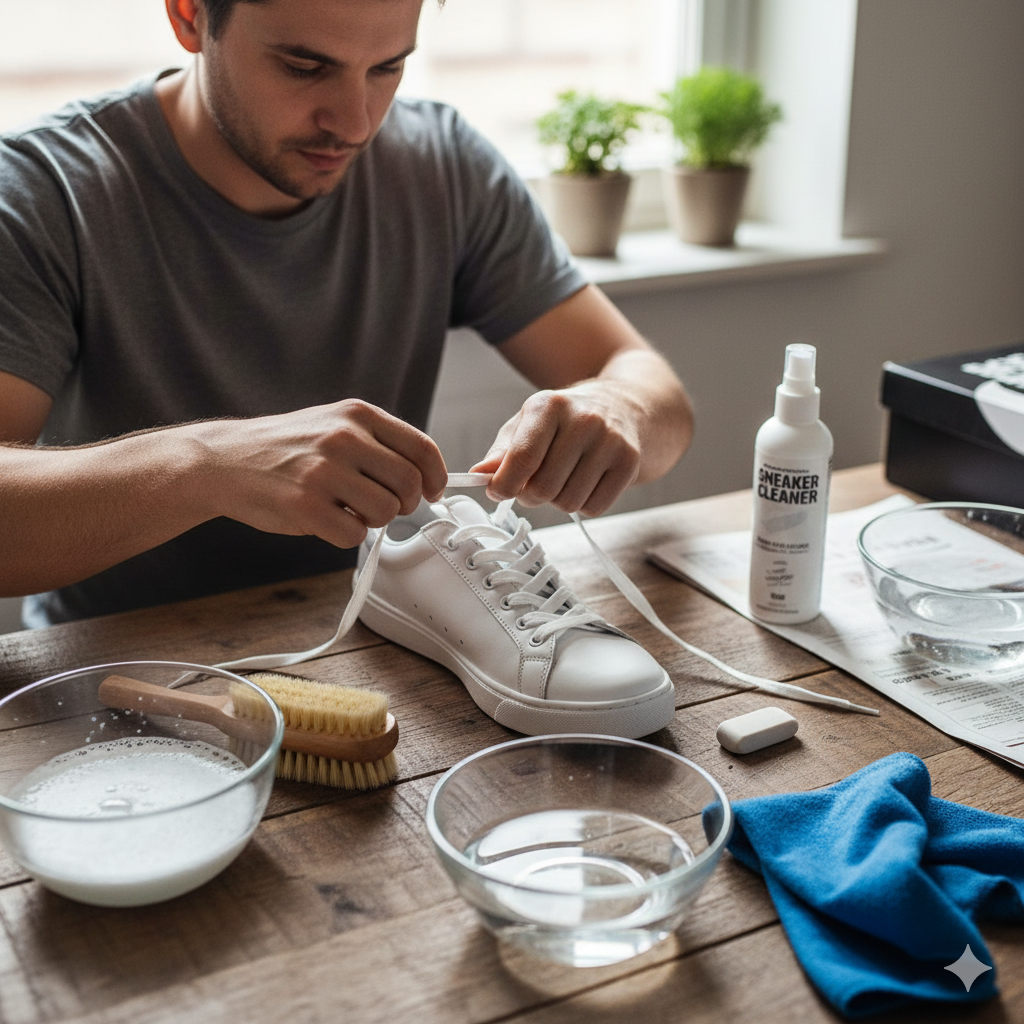
Step 1: Gather Your Supplies
Before you begin, make sure you have all the necessary tools. This will make the cleaning process smooth and efficient.
Soft-bristle brush: An old toothbrush works perfectly for scrubbing soles and harder-to-reach areas.
Microfiber cloth: For drying and buffing.
Mild soap or sneaker cleaner: Avoid harsh chemicals that can damage materials. Dish soap diluted with water can work in a pinch.
Small bowls of water: One for soapy water, one for rinsing.
Shoe trees or crumpled newspaper: To help maintain the shoe’s shape while drying.
Optional: Stain remover, protector spray, and a magic eraser for tough marks.
Step 2: Prepare Your Sneakers
Remove the laces and insoles from your sneakers. If your laces are dirty, you can wash them separately by hand with a little soap and water, or even put them in a mesh laundry bag and toss them in the washing machine on a delicate cycle.
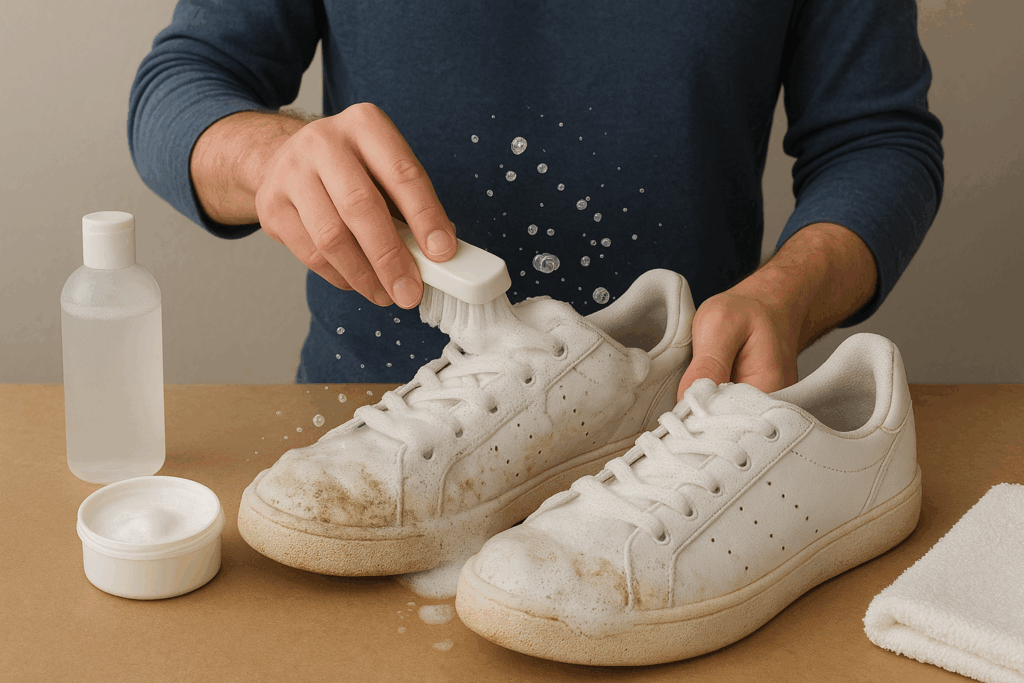
Step 3: Clean the Outsoles and Midsoles
The outsoles and midsoles usually accumulate the most dirt.
1. Dip your soft-bristle brush into the soapy water.
2. Gently scrub the outsoles (the bottom of the shoe) and midsoles (the white or colored strip above the outsole). Apply a bit more pressure to stubborn stains.
3. Wipe off any excess soap with a damp cloth. For scuffs on rubber midsoles, a magic eraser can work wonders.
Step 4: Clean the Uppers
This is where you need to be a bit more careful, depending on the material of your sneaker.
For Mesh, Canvas, and Synthetic Materials: Dip your soft-bristle brush into the soapy water and gently scrub the upper in small circular motions. Be careful not to saturate the material too much.
For Leather: Use a microfiber cloth dipped in soapy water to gently wipe down the leather. Avoid harsh scrubbing, as this can damage the finish.
For Suede and Nubuck: These materials are trickier. Use a specialized suede brush or a dry, clean cloth to gently brush off loose dirt. For stains, use a suede eraser or a very slightly damp cloth, blotting gently. Avoid excessive water, as it can stain suede.
Step 5: Wipe Down and Rinse
Once you’ve scrubbed all areas, use a clean, damp microfiber cloth to wipe away any remaining soap residue from the entire shoe. Make sure to get into all the crevices.
Step 6: Dry Your Sneakers
Proper drying is crucial to prevent mildew and maintain shape.
Stuff your sneakers with shoe trees or crumpled newspaper. This helps absorb moisture and maintains the shoe’s original form.
Air dry your sneakers at room temperature. Never put them in a tumble dryer or use a direct heat source, as this can warp materials and damage adhesives.
Allow them to dry completely, which can take several hours or even overnight.
Step 7: Final Touches (Optional)
Once your sneakers are dry, reinsert the insoles and re-lace them. You might also consider applying a sneaker protector spray to help repel water and stains in the future.
By following these steps, your sneakers will stay fresh and clean, ready for your next adventure. Happy rocking!